


Drywall damage involves nail pops, hairline cracks, and water stains. These issues require proper preparation and multi-coat compound application; skipping any repair step creates a patch that shows through paint. At Ace Handyman Services, we provide drywall repair services and follow each step to create a smooth, seamless finish that blends with the surrounding wall. Here are some tips for drywall repair to achieve professional results:
Assess the Damage
The drywall repair method depends on the damage, so it's key to identify the problem before cutting into the drywall. A hole under four inches is often patched with backer board, mesh tape, and joint compound, and the surrounding panel remains intact. Hairline cracks along seams need fiberglass mesh tape and flexible compound rather than a simple skim coat. Rigid compound without reinforcement will crack again when the wall moves seasonally.
Professionals first resolve water stains and moisture sources that impact the drywall's appearance and stability. They then assess the panel for saturation. If the board feels soft or has buckled, it has lost structural integrity and requires full replacement. Sealing and skim-coating only work once the panel is dry and firm; patching saturated drywall creates a repair that will fail within one seasonal cycle.
Cut and Clean Properly
When cutting out a damaged section, use a drywall saw to create a clean rectangle or square; ragged cuts produce gaps that compound alone cannot bridge. For holes larger than four inches, a backing board screwed to the wall studs across the opening gives the patch panel something to fasten to. Without a backer, the patch flexes independently from the surrounding wall, and the seam opens no matter how many coats of compound you apply. Cut the patch panel to fit snugly. A gap wider than an eighth of an inch at the seam requires mesh tape before compound. A tight fit reduces the amount of material needed to build a flush surface.
Apply Compound in Multiple Coats
Joint compound applied too thick in a single coat shrinks as it dries, leaving a depression that requires additional coats. The correct approach involves three coats:
- A taping coat embeds the mesh or paper tape flush with the wall's surface.
- A second coat widens the feathered edge out several inches past the tape to blend the transition.
- A finish coat is sanded smooth once fully dry.
Applying the next coat before the previous one is completely dry traps moisture and causes bubbling or adhesion failure. Sand lightly between coats with grit sandpaper, such as 120-grit, and then finish with 150-grit before priming. Professionals help with low-dust sanding, which reduces airborne particulates.
Match the Existing Wall Texture
A technically correct patch that doesn't match the surrounding wall texture is still a visible repair. Knockdown and orange peel textures are originally applied by hand or with a hopper gun, and the pattern varies from room to room even within the same house. The standard professional approach is to test the texture blend on a scrap panel before applying it to the wall.
This lets them dial in the spray pressure, dilution ratio, and knockdown timing before committing to the repair boundary. Once the texture is applied and fully dry, prime the patched area before painting. Bare joint compound is porous and absorbs paint unevenly, and it creates visible sheen differences under raking light, even after two finish coats. A coat of drywall primer sealer helps eliminate that problem.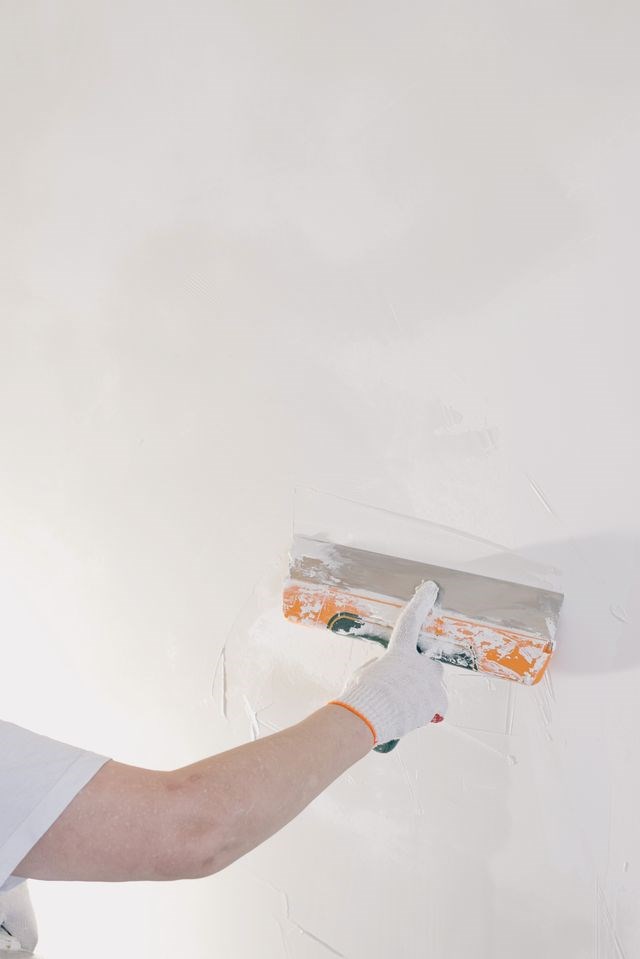
Use Drywall Repair Services
DIY drywall repair produces professional results when each step is done correctly, but the margin for error is narrow, especially with texture matching and multi-coat finishing. At Ace Handyman Services, our team handles everything from nail pops and crack repairs to full-room drywall installation, matching texture before the first coat of primer. Every job includes a one-year labor warranty, and we leave job sites clean after every visit. Call us today to learn more about our services.