


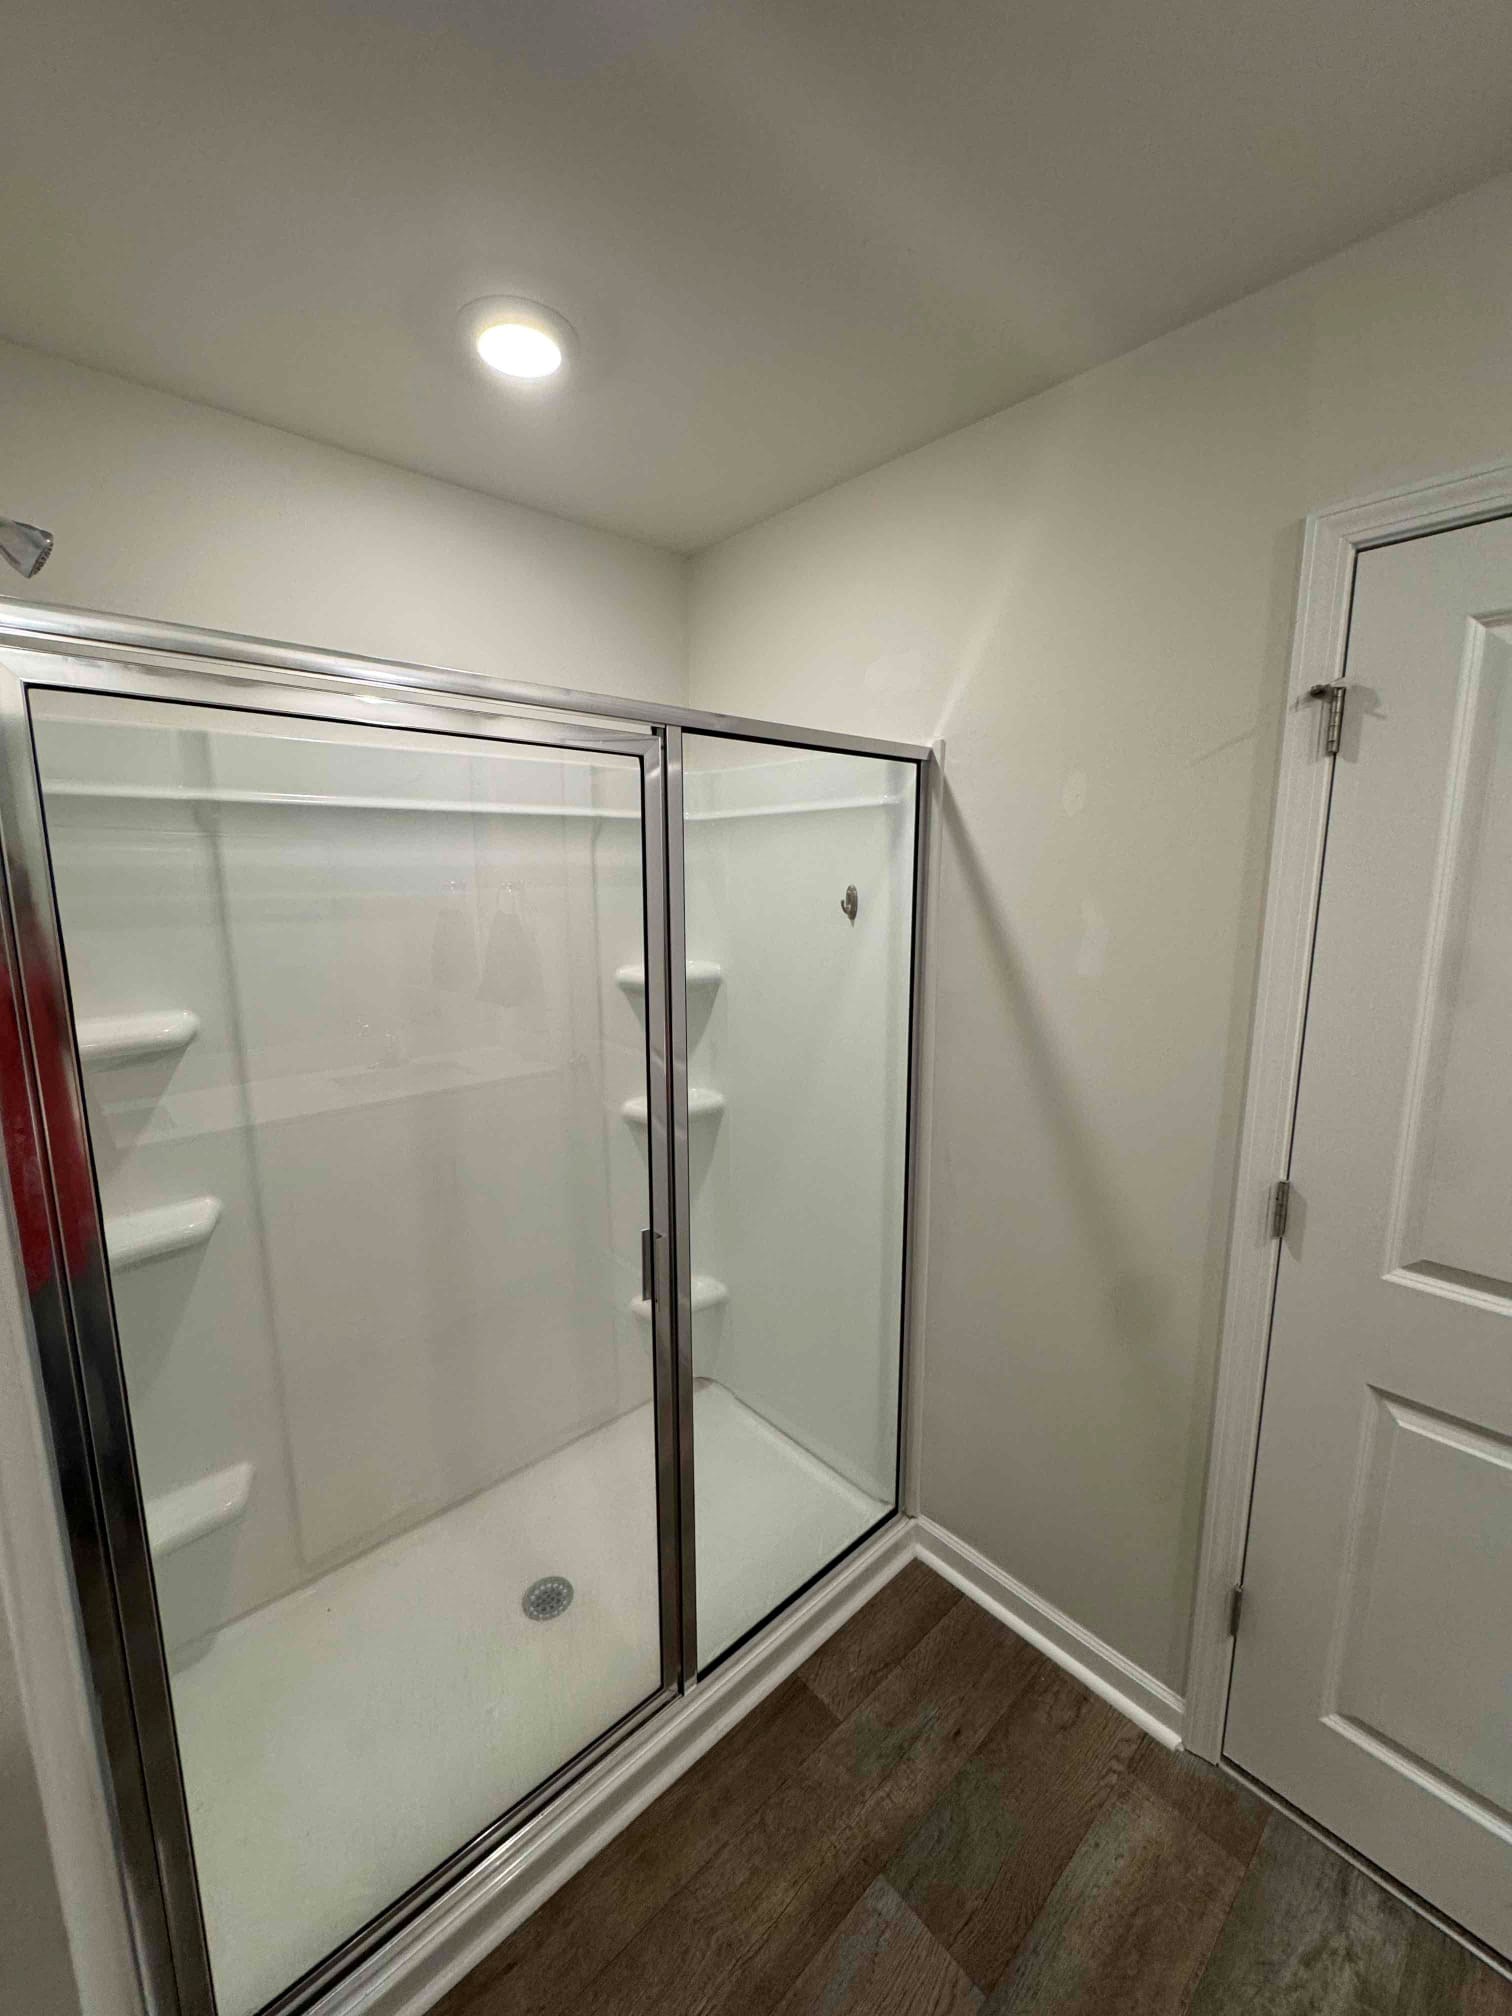
Here's what we see most often when a Clayton homeowner calls us after a DIY paint job didn't go the way they hoped: the paint itself is fine. It's the prep underneath that let them down.
Flashing. Visible patch edges. Nail pops that reappeared three weeks after painting over them. Touch-up areas that look lighter or darker than the wall around them even though they used the same can of paint. Every one of those problems starts before the first brush stroke and every one of them is preventable.
We've been doing painting services in Clayton and surrounding Johnston County communities long enough to know that newer construction here has its own set of quirks. Homes built during Johnston County's growth surge over the last decade tend to use 1/2-inch drywall on standard framing, which means nail pops are common as the lumber dries and settles. The humidity swings between summer and winter also work on caulk joints and wood trim in ways that open gaps year after year. If you're painting without addressing those first, you're sealing in problems rather than solving them.
This guide walks through what real prep looks like step by step and where the line falls between a confident weekend project and a job worth handing off to a professional.
Prep IS the paint job
The painting industry has a saying that's become a cliché because it's true: the finish is only as good as what's under it. Paint is transparent to surface imperfections in a way that feels unfair. A patch that looks smooth in a dim room will telegraph itself from across a sunlit space. A glossy spot left by old tape will catch light differently than the wall around it.
Most interior painting complaints we hear from Clayton homeowners trace back to one of three things: patches that weren't feathered wide enough, primer that was skipped or applied in too thin a coat, or surface contamination (dust, grease, silicone) that prevented proper adhesion. Get those three things right and the paint almost takes care of itself.
Step 1: Walk the room before you open anything
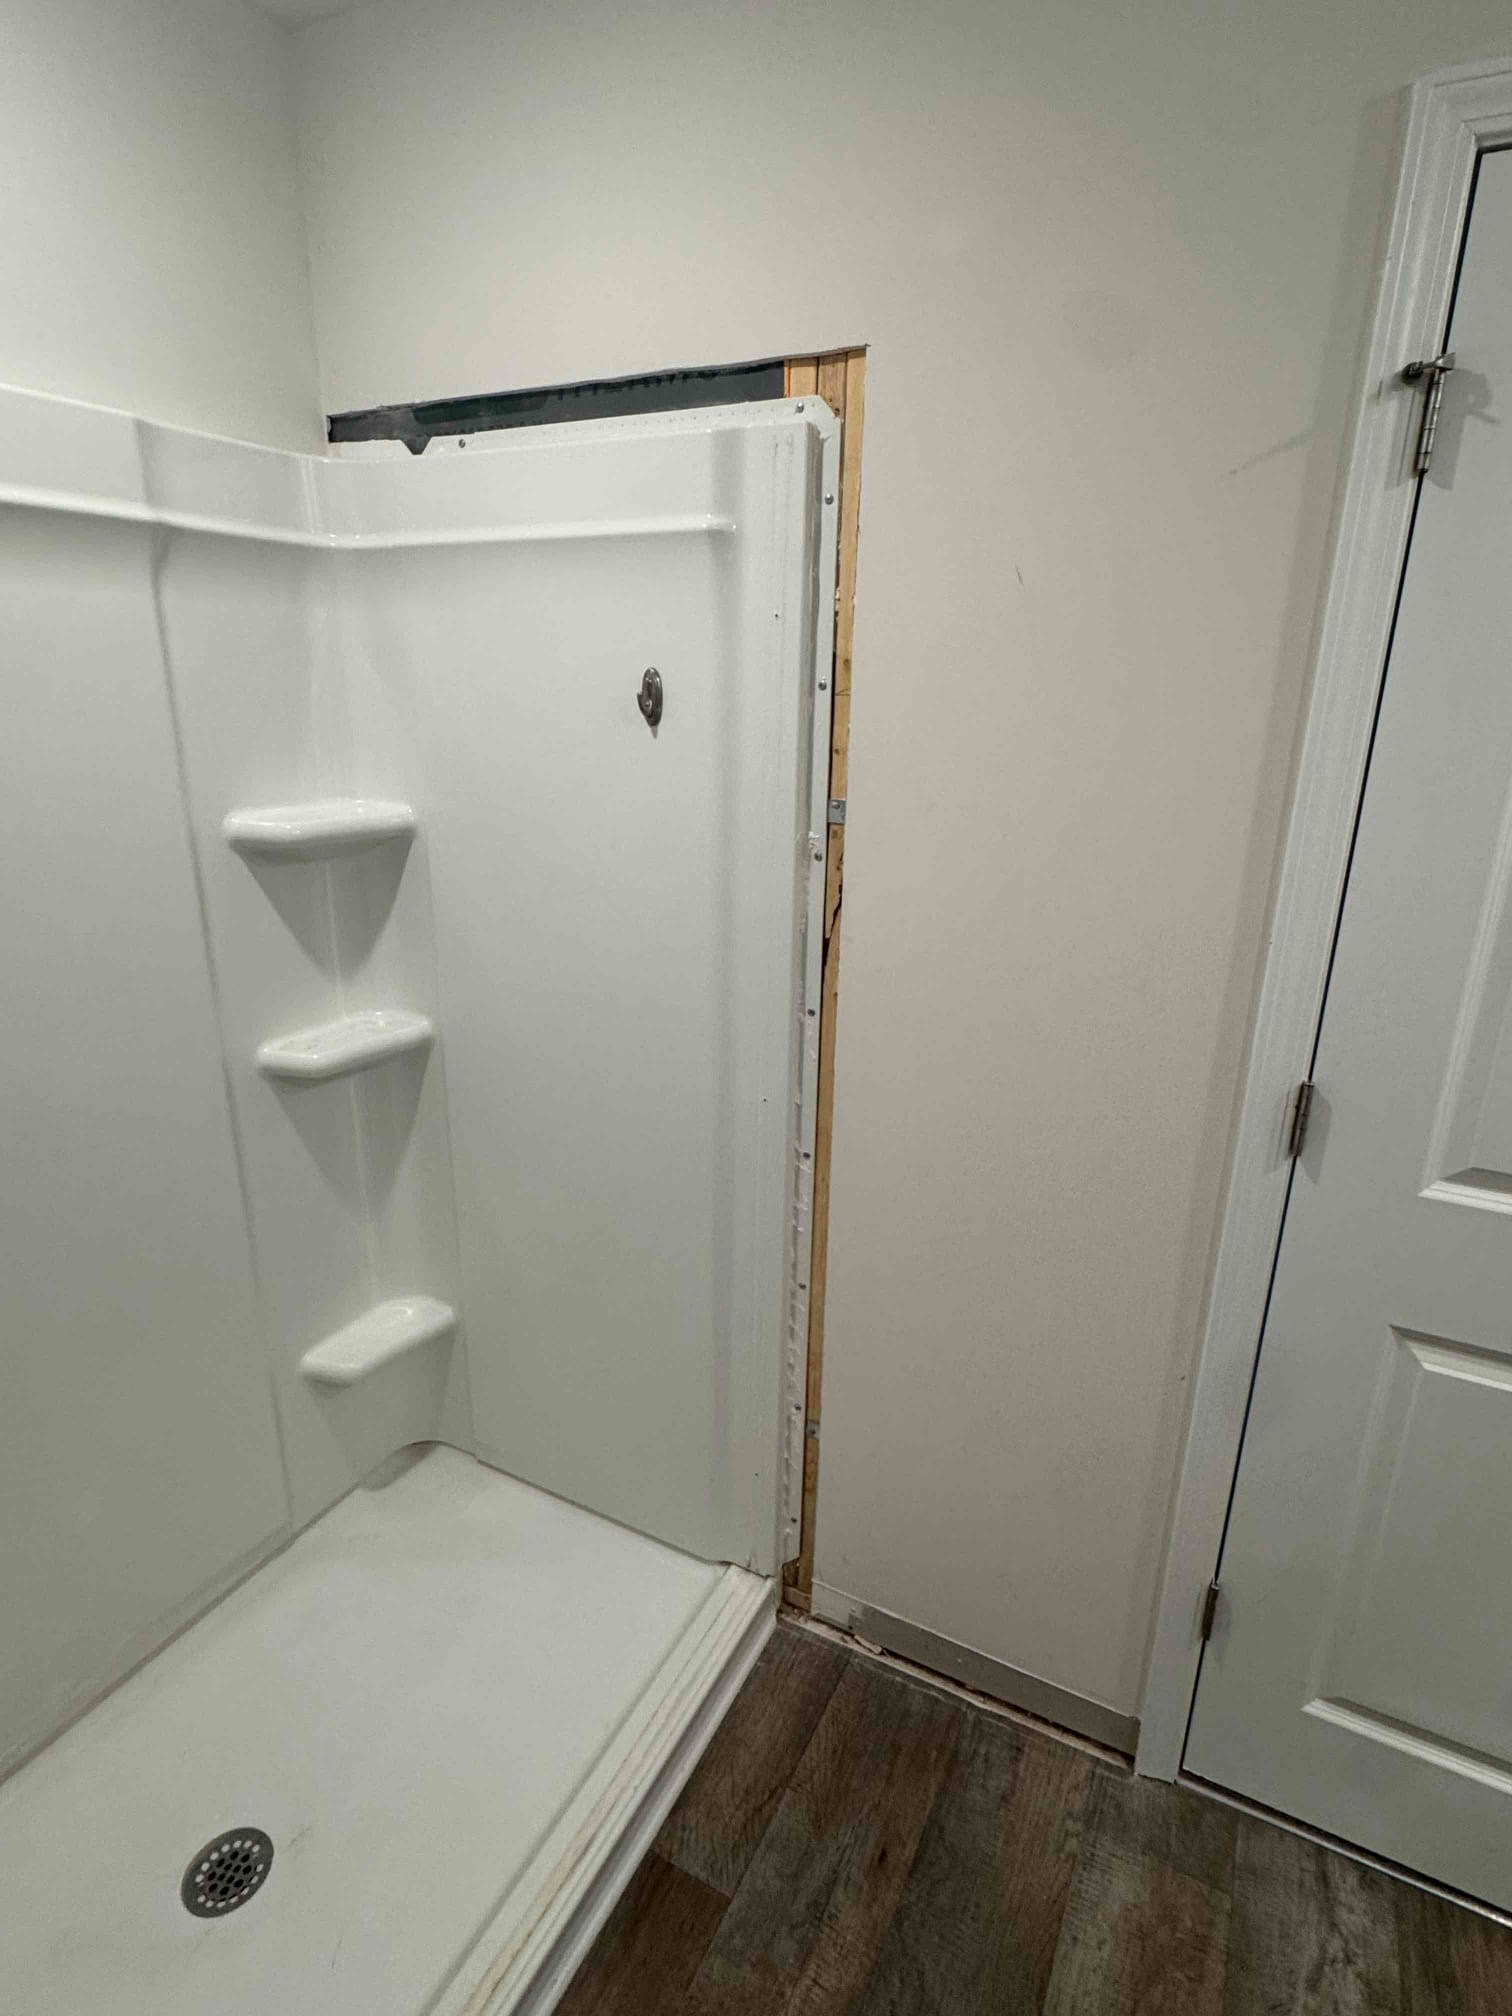
Before you buy supplies, do a slow lap around the room with a work light or LED flashlight held at a low angle nearly parallel to the wall surface. This raking light technique reveals every ridge, dent, and surface irregularity that flat overhead lighting hides. Mark what you find with blue painter's tape.
Look specifically for:
Nail pops. In Johnston County's newer stick-frame homes, these are common. A nail pop isn't just cosmetic it means the fastener has backed out from the stud. Skimming over it with joint compound and painting is a temporary fix that fails within a season. The right repair is to drive a drywall screw one inch above and one inch below the pop to re-secure the panel, then countersink the original nail, apply two or three thin coats of lightweight joint compound, and feather the edges at least six inches in each direction. That's a 30-minute drywall repair that holds. Painting over a floating nail pop gives you maybe eight weeks.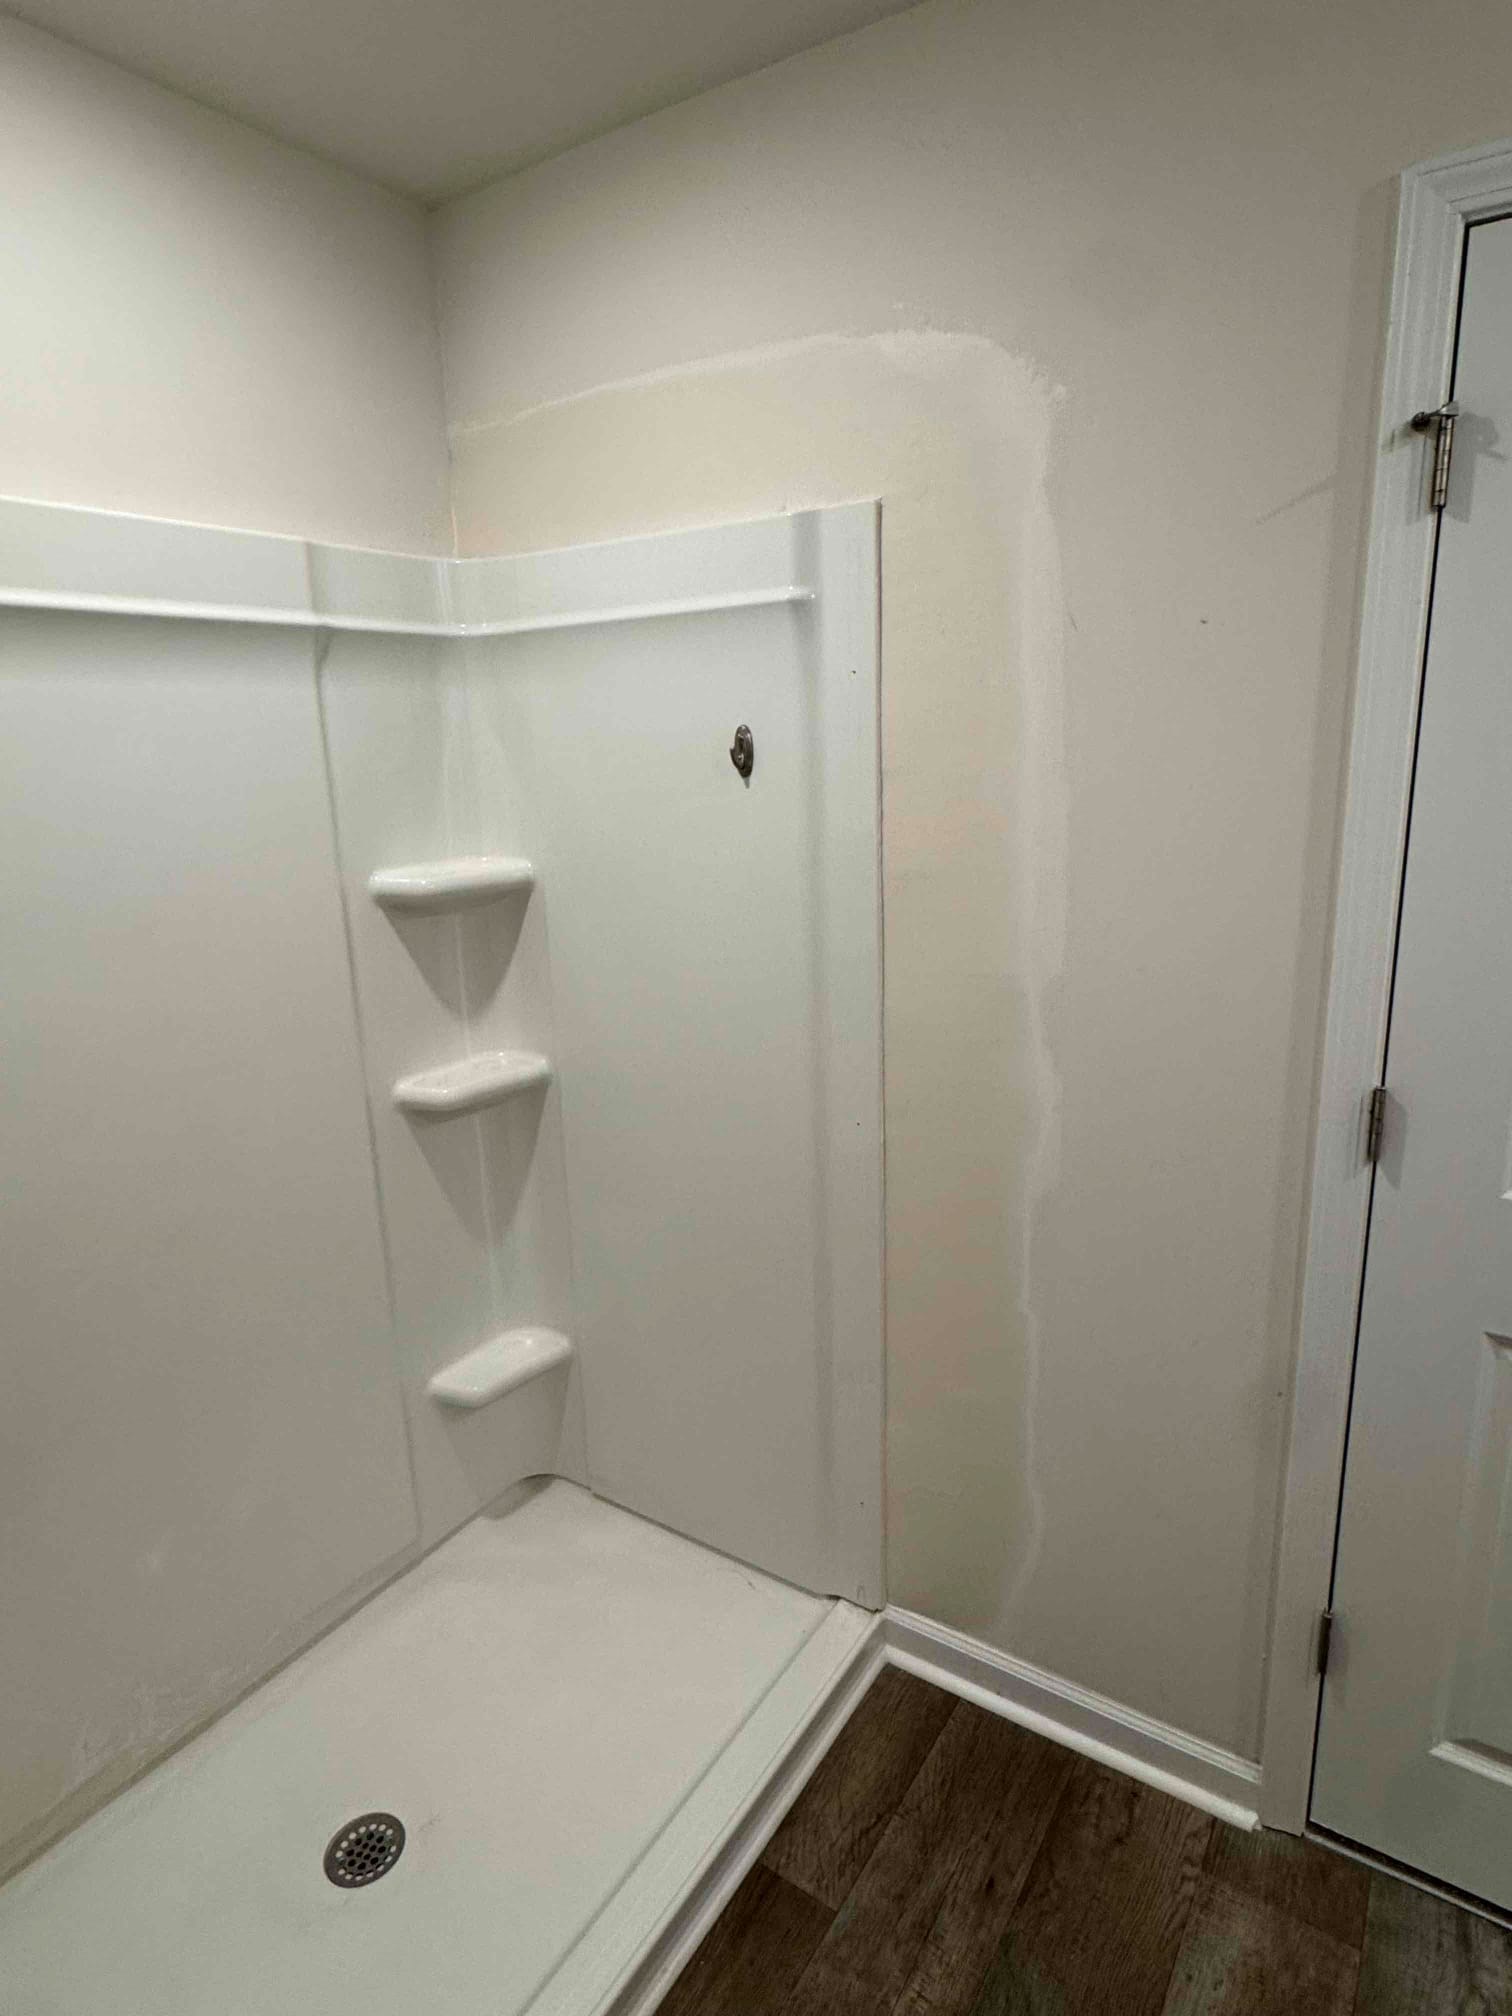
Holes and dents. Small holes from picture hooks can be filled with lightweight spackling and a putty knife. Anything larger than a half-inch benefits from mesh tape and compound applied in multiple thin coats rather than one thick one. Thick single coats shrink as they dry and crack.
Trim and baseboard damage. Clayton homes with kids or pets almost always have baseboard scuffs, chipped corners, and impact dents. These need to be filled, sanded, and primed before painting not painted over as-is. Check also whether the carpentry itself needs attention: loose base shoes, separating miters, or trim that's pulled away from the wall.
Caulk gaps. Caulk between trim and wall, between door casing and drywall, and along baseboards shrinks and cracks over time, especially with seasonal humidity changes. Run a thin bead of paintable latex caulk, tool it smooth with a damp finger, and let it cure fully before priming. Painting over open gaps makes them more visible, not less. Door and trim work caught before painting avoids the frustrating scenario of a freshly painted room with visible seams everywhere.
Step 2: Sand for transition, not removal
This is where a lot of DIY prep goes sideways. People sand too little in the wrong places, or they sand aggressively in one spot and create a new dip they then have to fill.
The goal of sanding on interior prep work isn't to remove material it's to eliminate the raised edge where a patch meets the surrounding wall so you can't feel the transition with your hand. If you can feel it, you'll see it after paint.
Grit selection matters. Start with 120-grit to knock down any ridges or high spots in dried compound. Finish with 150-grit to smooth the surface and reduce scratch marks that can telegraph through paint. On trim being repainted, 150-grit scuff-sanding the existing finish is usually enough to give primer something to bond to.
Use your hand as much as your eyes. Run your palm flat across every repair area. If there's a distinct edge or a bump, it needs more work before you move on.
Clean before you prime. Joint compound and drywall dust are fine particle contaminants that will prevent primer from bonding properly if left on the surface. Vacuum the wall surface with a brush attachment, then wipe with a barely damp microfiber cloth. On trim, a tack cloth works well. Let the surface dry completely, in humid Johnston County summers, give it more time than you think you need.
Step 3: Prime where it actually matters
Primer is one of those products that gets talked about in the abstract without much clarity on when and where it's actually required. Here's the practical answer:
Prime every bare drywall repair area. Fresh joint compound is highly porous. If you paint directly over it even with a thick first coat the paint soaks in unevenly and creates a dull, flat spot called flashing. It's most visible in sheen finishes (eggshell, satin) and in raking light. One coat of a quality drywall primer on repaired areas eliminates this.
Use stain blocking primer on problem spots. Water stains, smoke residue, magic marker, and grease will bleed through standard latex paint regardless of how many coats you apply. Shellac based primers like Zinsser BIN or oil based stain blockers like KILZ seal these permanently. Trying to cover a water stain with two extra coats of wall paint typically fails by week three.
Prime bare wood on repaired trim. Any trim repair that exposed raw wood, filled holes, replaced sections needs primer before paint, or the wood will absorb the topcoat and leave a dull spot.
Skim the whole wall if sheen is your priority. If you're using satin or semi-gloss and the wall has multiple repairs across it, a full skim coat of drywall primer across the entire wall surface before painting gives you the most even sheen. It's an extra step that's worth it in rooms where lighting conditions are demanding.
When it's worth calling a professional painting crew
There are projects where doing the prep yourself is the right call, and there are projects where the time and frustration math just doesn't work out.
Consider calling us when:
- The room has multiple repairs across ceiling, walls, and trim, and you're working around furniture, flooring, and a busy schedule
- Ceilings above 9 feet are involved, working overhead on an extension ladder for prep and painting is uncomfortable, slow, and produces uneven results
- You're dealing with water damage that needs diagnosis before repair, not just cosmetic patching
- The texture on repaired areas needs to be matched before painting: orange peel, knockdown, and skip trowel texture matching takes practice and the right spray equipment
- The timeline matters and you need it done right the first time
Many of our Clayton clients schedule drywall repair and painting together in a single appointment window. Our craftsmen handle the patch, the prime, and the paint as one continuous job, which means no waiting between steps, no second scheduling round, and a finished room in a single visit when the scope allows it.
Ready to get it done?
Ace Handyman Services Clayton is locally owned and operated out of 423 E 2nd St in downtown Clayton. Our background-checked craftsmen serve Clayton, Garner, Knightdale, Four Oaks, Selma, and surrounding Johnston County communities. If you have painting prep work, drywall repairs, or trim work that's been sitting on your list, call (919) 296-3748 or get an estimate online.
Frequently asked questions
Why does my touch-up paint look different from the wall around it, even using the same can?
Several things cause this, and it's one of the most common frustrations we hear. First, paint on the wall has cured and oxidized over time, fresh paint from the same can is chemically different from what's already on the surface. Second, if the original paint had a sheen finish (eggshell, satin) and the touch-up area has a different surface texture, bare compound versus the original wall, the sheen will reflect differently. Third, the application method matters: a roller leaves a different texture than a brush. The most reliable fix is to prime the repaired area, let it cure, then paint the entire wall from corner to corner rather than spot-touching.
Do I really need primer for small patches?
Yes, especially if you're using anything with a sheen. Unprimed compound absorbs paint differently than the surrounding wall, which creates flashing (a dull, flat spot that's visible in angled light). A small foam roller and a quart of drywall primer is a modest investment that prevents a frustrating re-do.
How do I get crisp, clean paint lines at the ceiling and along trim?
Clean lines come from three things working together: a properly prepared surface so tape adheres fully, quality painter's tape pressed down firmly along the edge with a putty knife, and removing the tape at the right moment, while the paint is still slightly wet, pulled back at a 45-degree angle rather than straight out. Waiting until paint is fully dry often causes the tape to pull the edge with it.
Can you match existing wall texture before painting a repair?
Usually, yes and it makes a significant difference in how invisible the repair is. The most common textures in Johnston County homes are orange peel, light knockdown, and smooth. Orange peel can often be matched with an aerosol texture can for small areas. Larger knockdown and skip-trowel repairs typically need a hopper or spray gun and take some practice to match precisely. If texture matching is a concern, it's worth having a professional handle it before painting.
Is it better to paint just the repaired wall or the whole room?
If only one wall has repairs and the rest of the room is in good condition, painting a single wall is often fine especially if the color isn't changing. But if the room has multiple repairs scattered across different walls, or if the existing paint has yellowed or faded unevenly, painting the entire room produces a cleaner result and avoids color variation between walls.